



Image Annotation Services

Makeeverypixelpullitsweight.

Still frames become training facts: boxes when location is enough, polygons and masks when the outline is the signal, keypoints when structure matters, and scene classes when the whole picture is the decision. Inclusion, occlusion, and tightness are written before the first batch.

Image annotation is the labelling of still images with bounding boxes, polygons, segmentation masks, keypoints or scene classes so a computer vision model learns what is in each frame and where. VIPRO delivers these labels under written rules with two-stage QA, in formats such as COCO JSON, YOLO and CVAT XML.

IMAGE / STREET_042.JPGREVIEW PASS · 000%
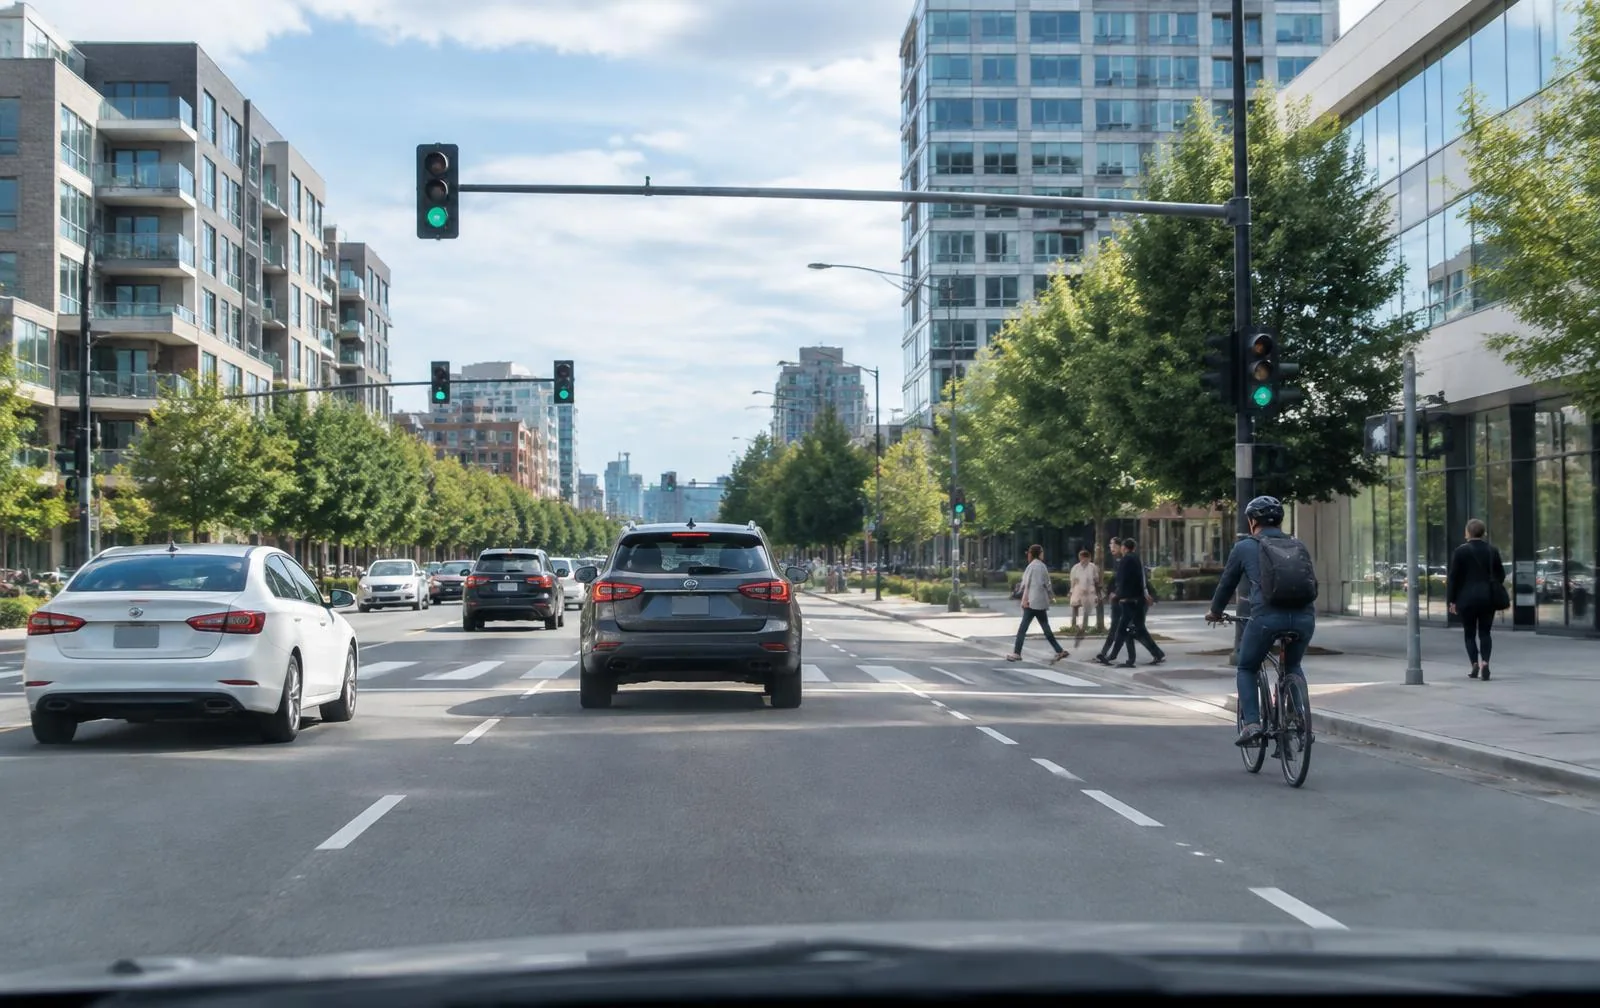
City street with cars, a cyclist, and pedestrians being labelled
QUEUE / LIVE

Compatible workflows

Tools we can work with

  • CVAT logo
  • Labelbox logo
  • Roboflow logoRoboflow
  • Label Studio logo
  • Encord logo
  • Scale AI logo
  • SuperAnnotate logoSuperAnnotate
  • Darkhorse

Start smaller than the backlog

Prove the ontology on real scenes.

A representative image batch exposes class overlap, visibility rules, and difficult boundaries before production begins.

Pilot first

What an image delivery contains

You receive the labelled set, the guide version used, and an export shaped for the training stack you named. Geometry is validated before handoff so a broken polygon does not become someone else's night.

  • Detection boxes and attributes
  • Polygon / mask archives
  • Keypoint skeletons with visibility
  • Image-level class tables
  • OCR regions plus transcripts

Interactive example

Nine ways to label an image

Pick a type to see the shape of the training signal it produces.

IMAGE / KEYPOINTSREVIEWED
Keypoints annotation example

Visual annotation guide

Image annotation types and when each one is honest

A box, a mask, a point, and a scene class are different claims about the same photograph. We pick the claim the model can actually use, then we write the inclusion rules that keep two annotators from inventing two photographs.

01

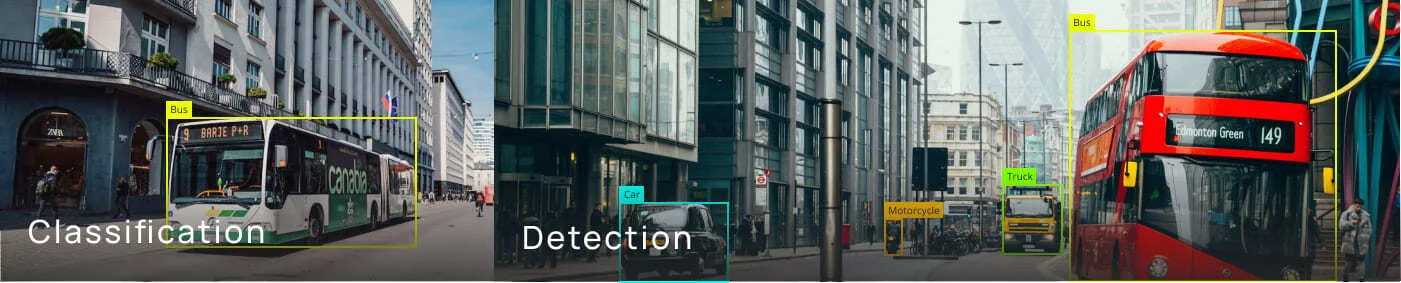
Image classification

Image classification annotation example
Single-labelMulti-labelScene classification

Assign a class to the complete image when the model must recognise the subject, scene, condition, or operating state before it looks for objects inside the frame.

Single-label work is enough when those states cannot coexist. Multi-label work is written into the brief when a frame can be both wet and night, or both occupied and under maintenance. We calibrate on the pairs that keep collapsing, because that is where a generic class list quietly fails.

02

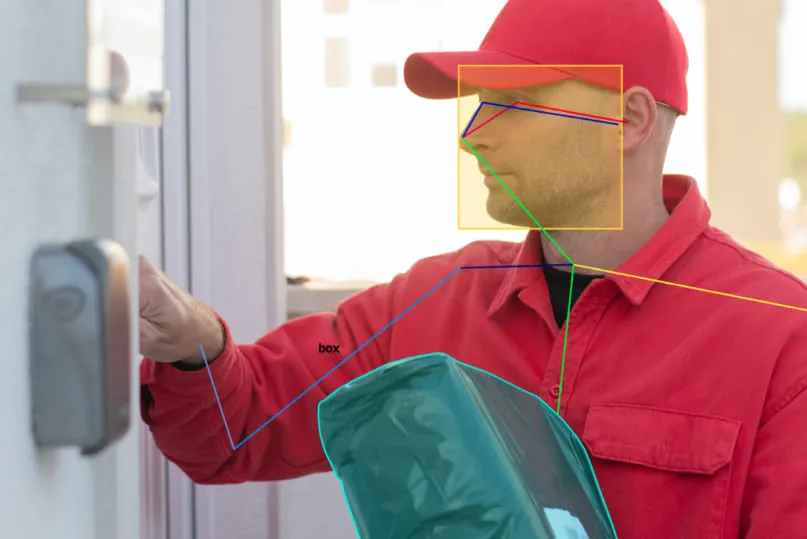
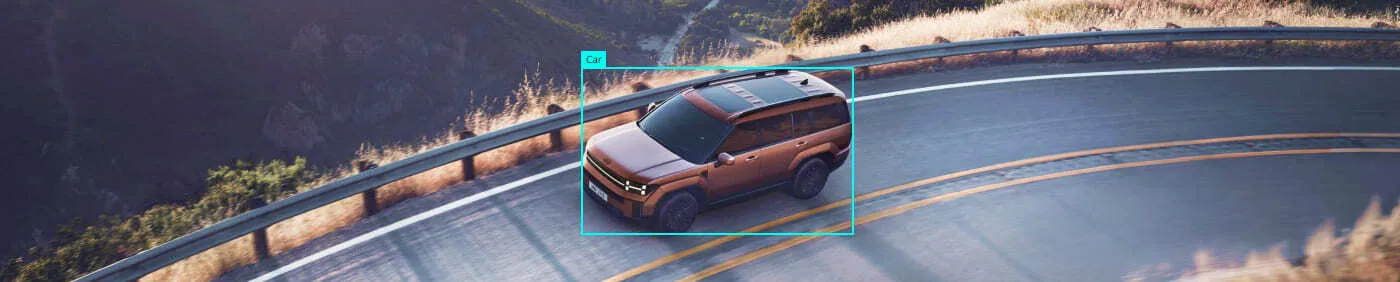
Object detection and recognition

Object detection and recognition annotation example
Bounding boxesObject attributesMulti-class scenes

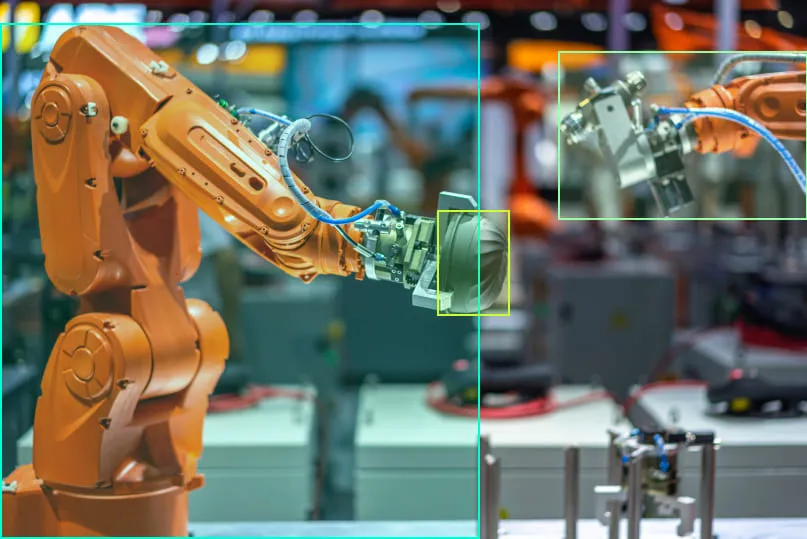
Locate and classify every relevant object with written rules for visibility, overlap, truncation, and the smallest size that still counts.

A box is a claim about ownership of space. We review the habit of drawing generously around neighbours, and the opposite habit of skipping a half-hidden instance because it was awkward. Attributes — orientation, state, crowd flags — live on the object only when the model will use them.

03

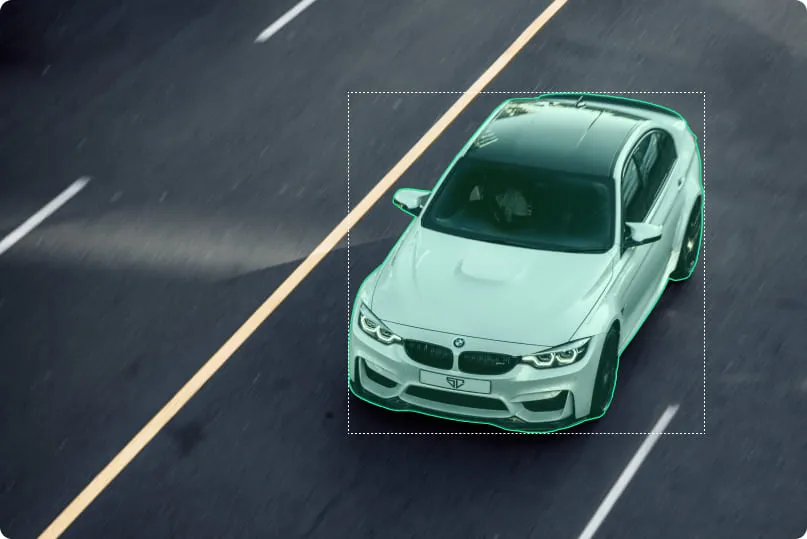
Image segmentation

Image segmentation annotation example
Semantic masksInstance masksPolygons

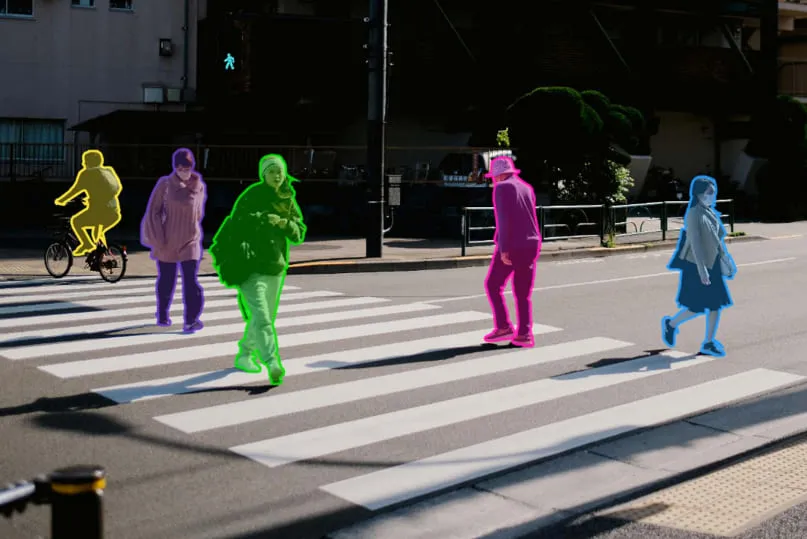
Trace the silhouette when a rectangle would lie: a crack, a leaf, a lane marking, a surgical margin, a pile of mixed material.

Semantic masks give every pixel a class. Instance masks keep two objects of the same class from melting together. Tightness is defined with pictures, because 'be precise' is not a reviewable instruction.

04

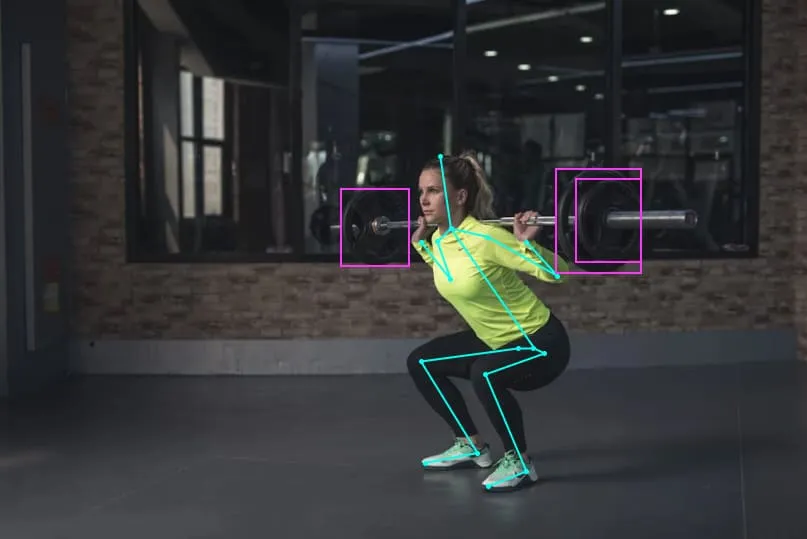
Landmarks, keypoints, and text in the image

Landmarks, keypoints, and text in the image annotation example
LandmarksKeypointsOCR regions

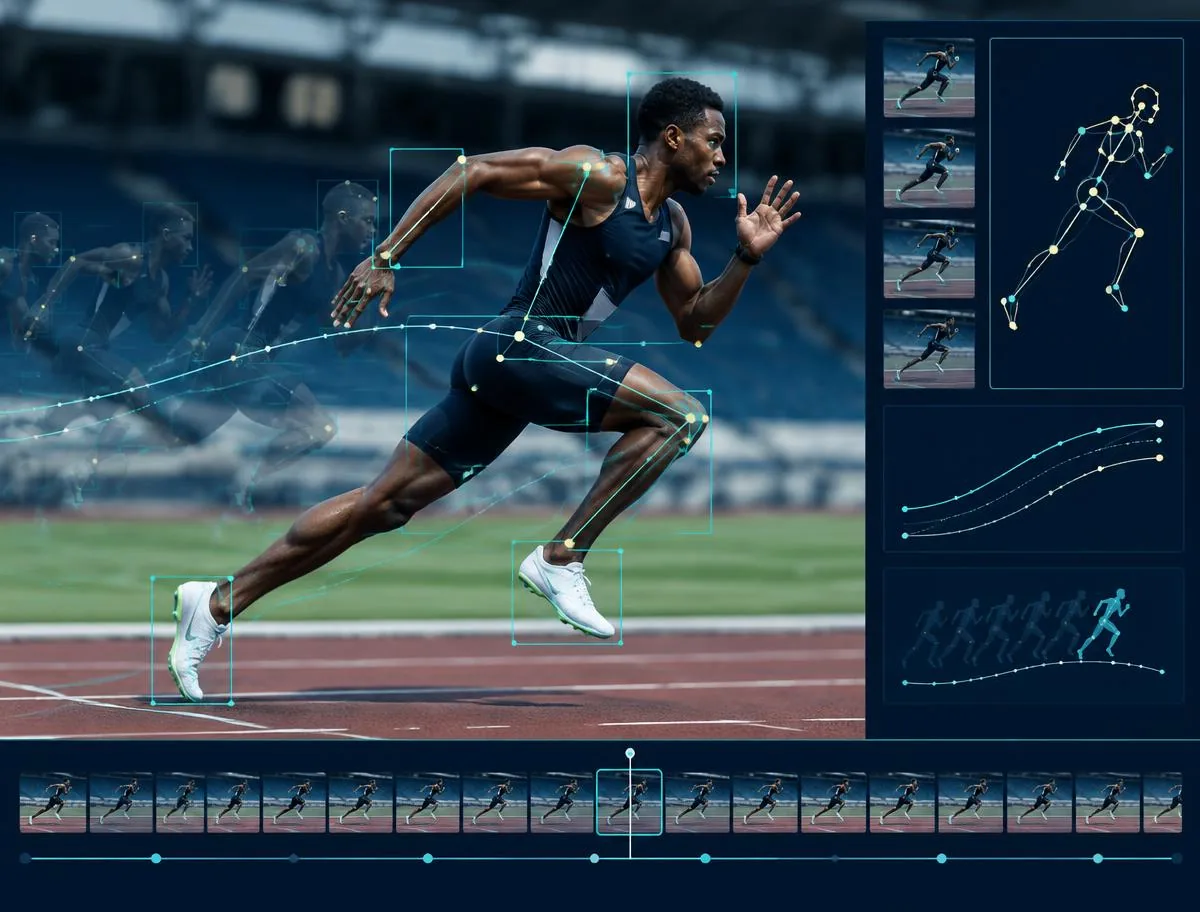
Points describe structure that a region cannot: joints, facial features, tool tips, alignment marks. Visibility flags travel with the coordinates so a guessed elbow is not stored as a seen one.

OCR regions are visual work with language attached. The box is drawn against the photograph; the transcript follows a normalisation rule that is written before anyone types the first plate or label.

Quality on this modality

Visual quality is geometry plus a shared reading of the scene.

We do not call a batch finished because every image has a shape on it. We call it finished when the shapes obey the same inclusion, occlusion, and tightness rules the calibration set established.

Class consistency

The same object does not wander between neighbouring classes from frame to frame of a still set. Confused pairs are named in the guide with pictures.

Boundary tightness

Reviewers look for slack boxes, missing concavities, and masks that swallow background. Tightness is defined with examples, not with 'be precise'.

Occlusion and truncation

Partly hidden objects follow a written rule: label what is visible, mark the state, or skip below a size threshold. The rule is the same on Monday and on Friday.

Empty and negative space

Images with nothing of interest are not silently dropped. If the model must learn absence, those frames stay in the set with an explicit empty label.

Image Annotation

Where image labels create useful signal

Four places this work earns its keep. Read them as scenes, not as a pile of chips.

  1. 01Object detection in cluttered scenes
  2. 02Visual inspection and defects
  3. 03Scene and condition classification
  4. 04Document and sign reading on images
  1. Object detection in cluttered scenes

    Street, warehouse, and factory images where people, vehicles, and tools overlap. The work is less about drawing and more about which object owns which pixels when they share an edge.

  2. Visual inspection and defects

    Surfaces, assemblies, and parts where the difference between a scratch, a reflection, and a stain has to be taught with examples. We keep a 'uncertain / escalate' class rather than forcing every mark into a defect.

  3. Scene and condition classification

    Whole-image labels for weather, lighting, occupancy, or operating state. Useful when the model must route a frame before it looks for objects inside it.

  4. Document and sign reading on images

    Text that lives in the photograph — plates, labels, forms on a desk, UI captures. Regions are marked visually and transcribed against a written normalisation rule.

Questions that belong only here

Ask these before this work scales.

01

Yes. We load your classes and attributes, then test them on a calibration batch of your real images. Conflicts, missing states, and overlapping definitions are written back into the guide before production. We do not 'interpret' a PDF in silence.

02

That is a written rule, not a vibe. We set a minimum size, a visibility threshold, and an occlusion vocabulary with pictures. Reviewers check that people are not inventing objects from a few pixels or skipping ones the model still needs.

03

When it helps. A detector can propose boxes on a familiar class. A person still accepts or redraws them. Novel classes, thin defects, and anything the pre-model was not trained on start from a human hand.

04

Common detection and segmentation schemas, custom JSON, and platform-native exports. The exact fields — IDs, attributes, crowd flags — are confirmed in the brief so engineering is not translating columns after the fact.

05

Shared examples, paired review on the calibration set, and a living list of decided edge cases. If two people still diverge, the item is escalated rather than blended.

06

A slice that includes the rare class, the bad lighting, and the object you almost left out of the ontology. We return labelled files, a disagreement list, and a recommendation to lock, revise, or stop.

2D annotation

What is 2D data annotation?

2D data annotation is the labelling of flat images and video frames with bounding boxes, polygons, segmentation masks, keypoints or scene classes. It teaches a computer vision model what is in each frame and where.

Common computer vision use cases

  • Object detection
  • Visual inspection
  • Scene understanding
  • Document intelligence

Geometry

Bounding boxes, polygons and when each one is the honest choice

Every image annotation project starts by picking a geometry. Pick the one your model actually uses, at the precision its loss function can make use of. Paying for extra precision the model never reads is a cost, not a quality gain.

2D bounding boxes

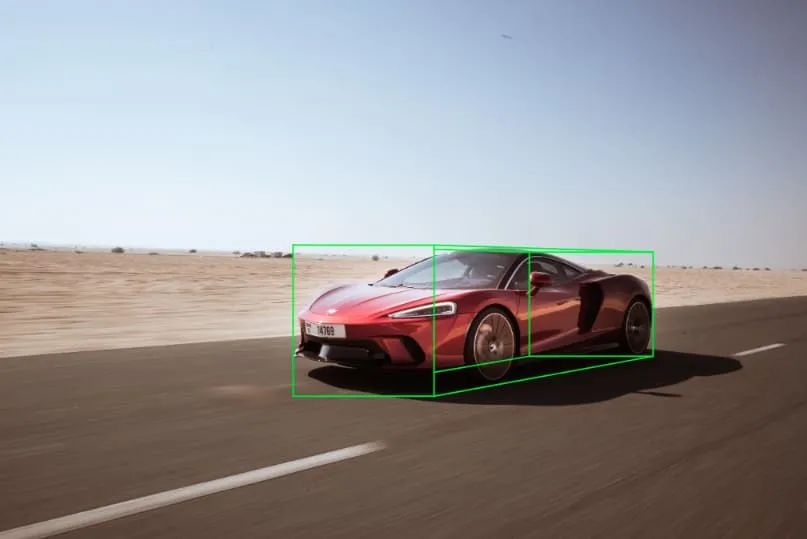
An axis-aligned box is the cheapest useful claim about an object: it exists, it belongs to this class, and it occupies this rectangle. We write a tightness rule into every guideline. The box touches the outermost visible pixel of the object on all four sides, and leaves out shadows, reflections and motion blur unless the class definition says otherwise.

Boxes suit detection models, counting and tracking seeds. They get unreliable on thin, diagonal or hollow objects. A box around a pole or a bicycle frame is mostly background, and the model learns that background as if it were the object.

Polygons

Polygons trace the object's outline with vertices, so far less background ends up inside the label. Guidelines set a vertex density: enough points that the outline stays within a few pixels of the true edge at the delivery resolution, and no more. Too few vertices cut corners. Too many slow the work down and add jitter between annotators.

Polygons are the usual choice for vehicles, buildings, products on shelves and anything else where shape matters but a full pixel mask would be overkill.

Pixel-level work

Semantic, instance and panoptic segmentation: what is actually different

All three assign meaning to pixels, but each one answers a different question. Mixing them up in a statement of work is one of the most common reasons a delivered dataset does not fit the model it was bought for.

Semantic segmentation

Every pixel gets a class, such as road, sidewalk, vegetation or sky, and there is no notion of individual objects. Two cars parked bumper to bumper become one connected region labelled car. This suits drivable-area estimation, land-cover mapping and scene parsing, where the model only needs to know what material is where.

Instance segmentation

Only countable objects (things) are labelled, and each one gets its own mask and ID. Those two parked cars become car #1 and car #2, with a boundary between them that the annotator has to decide. Background stuff like road or sky is usually left unlabelled. Use instance masks when the model must count, track or measure individual objects.

Panoptic segmentation

Panoptic combines both. Every pixel gets a class, and pixels of countable classes also get an instance ID, so no pixel is unlabelled and no pixel belongs to two segments. It is the most complete scene description and the most expensive to produce. The guideline must say exactly which classes count as things and which as stuff before the first image is touched.

Structure

Keypoints and skeletons

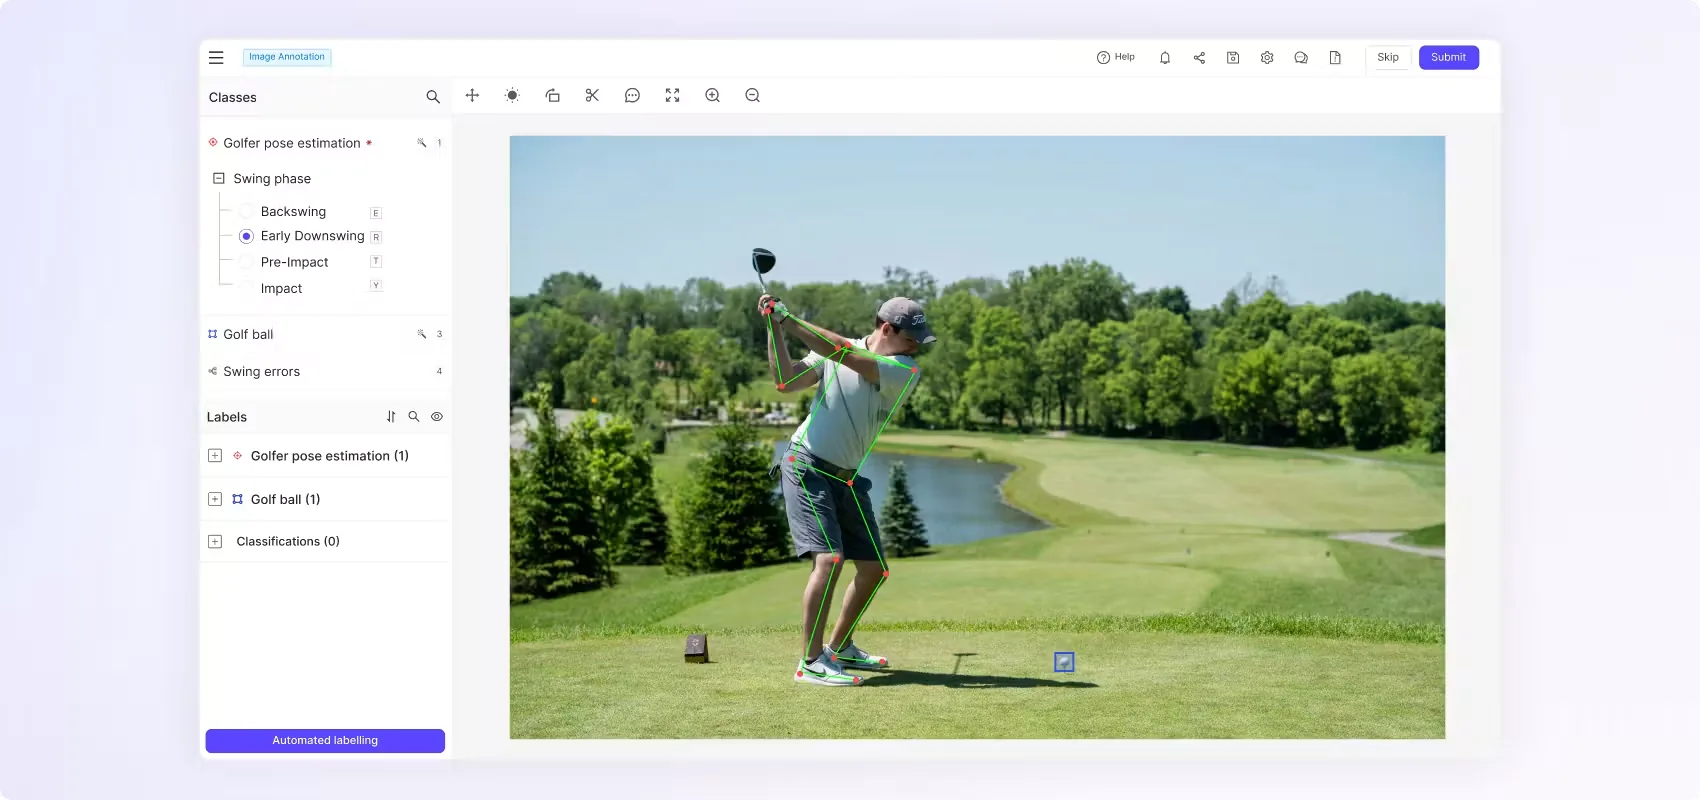
Keypoints mark specific landmarks, such as joints, facial points or corners of a product, and a skeleton defines how those points connect. The guideline fixes the point order, left/right conventions from the subject's own perspective, and what to do when a point falls outside the frame.

Visibility per point

Each keypoint carries a visibility value. We follow the COCO convention by default: 0 means not labelled, 1 means labelled but occluded (position inferred from anatomy or geometry), and 2 means labelled and visible. Inferred points are only placed when the guideline allows it, because a confidently wrong elbow teaches a pose model more harm than a missing one.

The hard frames

Occlusion and truncation rules

Most disagreement between annotators comes from objects that are partly hidden or cut off by the image border. We write these rules down explicitly rather than letting each annotator improvise.

Occluded objects

An object is occluded when something in the scene hides part of it. The default rule is to label only the visible extent for boxes and masks, and to set an occlusion flag (for example none, partial or heavy) on the object. If your model needs amodal labels, which estimate the full extent behind the occluder, that is a separate, written instruction with its own review checks, never an annotator's judgement call.

Truncated objects

An object is truncated when the image border cuts it off. The label stops at the border and carries a truncated flag, so you can filter or weight those samples at training time. Guidelines also set a minimum visible size, below which an object is ignored or marked as a crowd or ignore region instead of being labelled badly.

Ambiguity

Edge-case rubric and class ambiguity handling

A label set always meets images it did not anticipate, like a van that might be a truck, a mannequin that looks like a person or a poster of a car. The rubric is the living document that decides these cases once, so they are decided the same way every time.

How ambiguous cases are resolved

Annotators do not guess. They raise a flag with the image, the candidate classes and their reasoning. A lead resolves it, writes a rule with a visual example into the rubric, and the rule applies to all future and in-flight work. Recurring flags are a signal that the class taxonomy itself needs a change, which we raise with you rather than patch silently.

The CityScope AI urban perception project is a good example: street scenes are full of class boundaries that only a written rubric keeps consistent.

See how this played out in the CityScope AI urban perception case study.

Acceptance

QA and the IoU ≥ 0.85 calibration benchmark

Quality is agreed before volume. Every project starts with a calibration set, a sample of your real images labelled by our team and checked against reference labels you approve.

How the benchmark works

For boxes and masks we measure Intersection over Union (IoU) between the delivered label and the reference label, and match objects per class before scoring. Our acceptance benchmark on calibration samples is IoU ≥ 0.85. Calibration only passes, and production only starts, once that holds and the class and attribute decisions match the rubric.

In production every batch goes through two stages: an annotator self-check against the rubric, then an independent reviewer audit. Batches that fail the audit go back for rework instead of being shipped. The same discipline supported our factory egocentric project of more than one million frames.

Why this matters to model performance: why training data quality matters. The million-frame project is written up in the factory egocentric case study.

Delivery

Delivery formats

We export to the format your training pipeline already reads, so nobody has to write a converter.

Supported exports

COCO JSON for boxes, polygons, RLE masks and keypoints. YOLO Darknet text files for detection and segmentation pipelines. CVAT XML when you want to reopen the work in CVAT. Pascal VOC XML and per-pixel PNG masks for semantic segmentation. Every delivery includes the class map, the rubric version it was labelled under, and a QA summary for the batch.

Inspect Sample Deliverable & QA Rubric

Illustrative sample
{
  "info": { "description": "Illustrative sample — not client data" },
  "images": [{ "id": 7, "file_name": "street_0007.jpg", "width": 1920, "height": 1080 }],
  "annotations": [
    { "id": 1, "image_id": 7, "category_id": 1, "bbox": [640, 410, 212, 128],
      "segmentation": [[642,520, 660,430, 830,412, 850,536]], "area": 20140,
      "iscrowd": 0, "attributes": { "occlusion": "partial", "truncated": false } },
    { "id": 2, "image_id": 7, "category_id": 2, "bbox": [1210, 380, 64, 190],
      "keypoints": [1242,392,2, 1236,450,2, 1250,452,1], "num_keypoints": 3 }
  ],
  "categories": [{ "id": 1, "name": "car" }, { "id": 2, "name": "pedestrian" }]
}

Stage 1 — Annotator self-check

  • Every in-scope object labelled; nothing below minimum size
  • Boxes and polygons tight to visible edges
  • Occlusion and truncation flags set on every object
  • Ambiguous cases flagged, not guessed

Stage 2 — Independent reviewer audit

  • Independent reviewer audits a sample of each batch
  • IoU checked per class against the rubric
  • Errors logged by type: missed, extra, class, geometry, attribute
  • Failed batches returned for rework before delivery

Image annotation technical FAQ

Should thin objects like poles or cables be labelled with polygons or pixel masks?

For thin or hollow objects a box is mostly background, and a coarse polygon can drop the object entirely at a few vertices. When the structure is a few pixels wide, a brush or pixel mask is usually more faithful. When it is wider, a dense polygon is cheaper and easier to review. We decide this per class during calibration and write it into the rubric.

How is occlusion flagged in the delivered labels?

Each object carries an occlusion attribute (for example none, partial or heavy) and a separate truncated flag for objects cut by the image border. Keypoints use per-point visibility values following the COCO convention. Geometry covers only the visible extent unless you have asked for amodal labels.

How is IoU measured per class?

Delivered and reference labels are matched one-to-one within each class, and IoU is computed for each matched pair. Unmatched objects are counted as misses or extras rather than averaged away. Results are reported per class, so a strong majority class cannot hide a weak minority one. Our calibration acceptance benchmark is IoU ≥ 0.85.

What is the difference between COCO and YOLO exports?

COCO is a single JSON file per split, with absolute pixel coordinates, boxes as x, y, width, height from the top-left corner, and support for polygons, RLE masks, keypoints and custom attributes. YOLO uses one text file per image, with box centre, width and height normalised to the 0–1 range and a separate class list. It is compact, but attributes like occlusion do not travel with it unless kept in a sidecar file.

How are rubric changes versioned?

The rubric has a version number and a change log. Each new rule records the date, the triggering example and who approved it. Every delivered batch states the rubric version it was labelled under. When a rule changes meaning, we agree with you whether already-delivered batches should be re-reviewed.

Test us on your hardest images first.

Start with a Free Calibration Pilot

Start a conversation

Send the frames that will argue.

A wet windscreen, a truncated object, a defect that might be glare. Those pictures tell us whether the ontology is ready — not a folder of easy examples.

Request a Quote